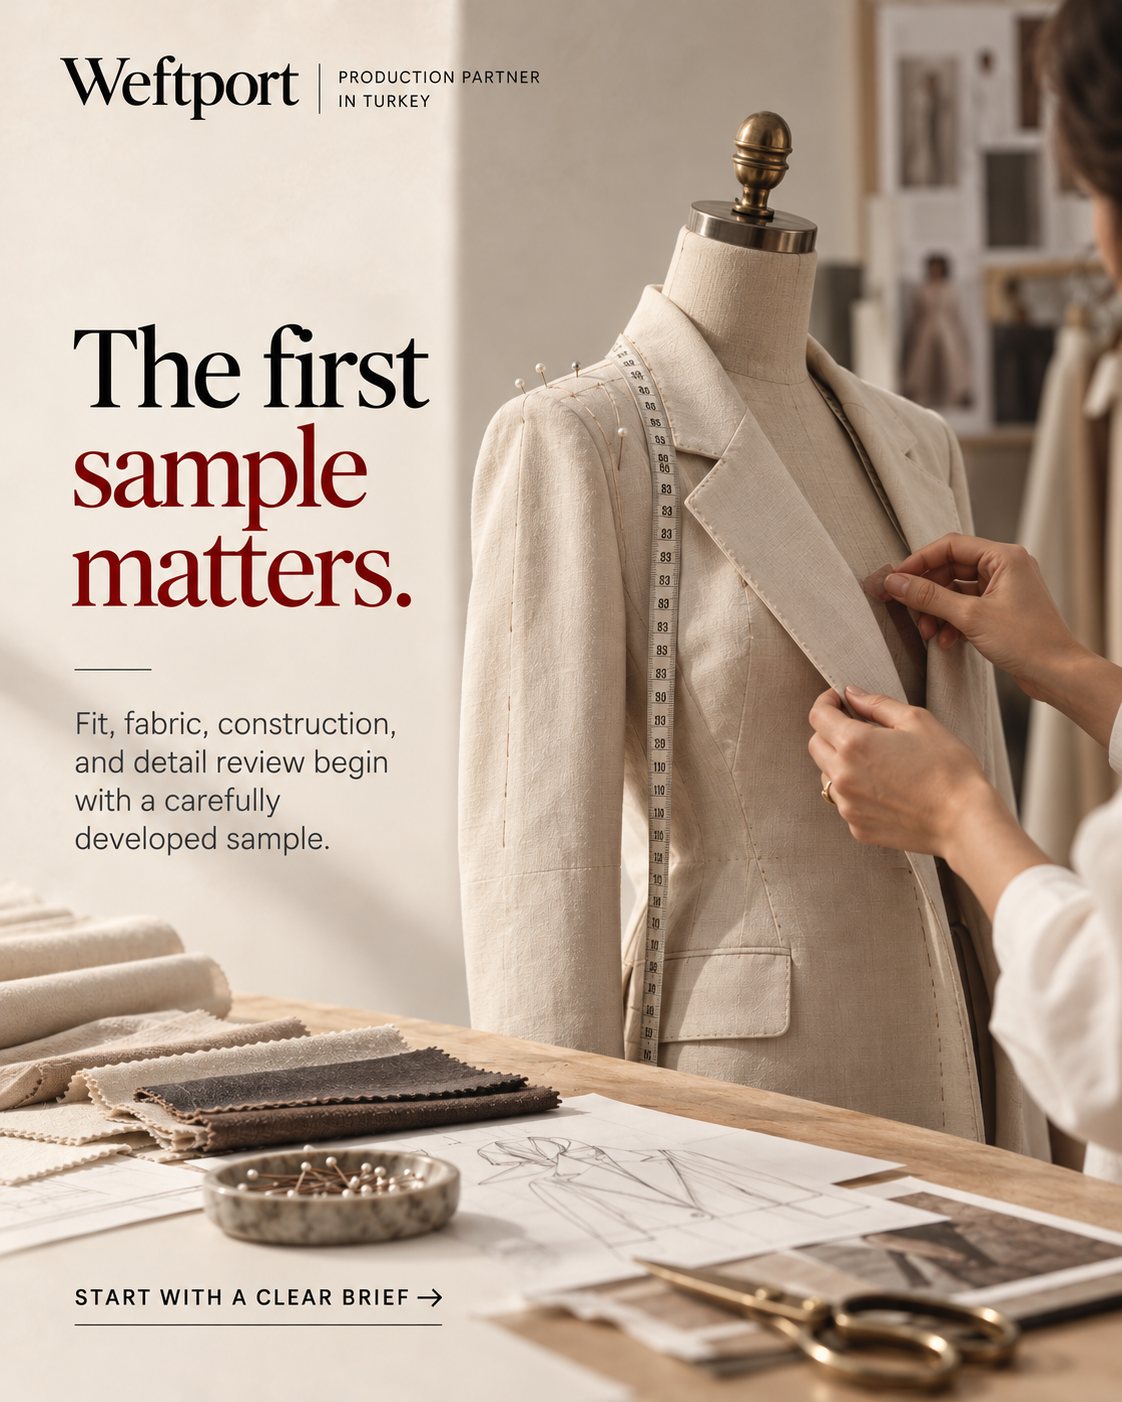
The first sample is the moment a design becomes a garment you can hold. It is also the cheapest point at which to find problems. A correction at sample stage costs a conversation; the same correction after cutting costs fabric, time and sometimes the delivery date. This guide explains what to check, how to organise feedback and how to decide when a sample is good enough to approve.
What a sample is for
A sample answers four questions. Does the garment fit the way you intended? Does the fabric behave as you expected? Is the construction right? Do the details, from buttons to labels, match your design? It is not a finished product from the production line, and small differences in trims or finishing may still be open. Treat it as the reference you will compare the bulk against.
Prepare before it arrives
Have your tech pack, measurement list and fabric references ready, so you can compare rather than judge by feeling. Decide who reviews the sample and who gives final approval. If several people comment, collect and reconcile their feedback first, because contradictory comments cost a round.
Review fit first
Try the sample on a body or a form in the right size, and look at it from the front, side and back. Check where it pulls, gapes or twists. Then measure against your list: key points such as chest, waist, hip, shoulder, sleeve length, body length and inseam, depending on the garment. Note every deviation with the measured value and the target value. A photograph with the measurement marked on the garment is worth a paragraph of text.
Review fabric
Judge handfeel, drape, weight and colour. Compare with your approved swatch under good light; a colour light box, as used at our partner factory, makes this reliable. If you can, wash the sample once and check dimensional stability and appearance after wash. These are the same properties checked in the quality workflow, so you will see how the bulk is likely to behave.
Review construction
Look at seams, stitching, pressing and finishing on the inside and outside. Check that buttonholes are clean, that buttons are firmly attached and that zips run smoothly. For jackets, look at lining, interlining and how the lapel rolls. For knitwear, look at the rib recovery and neckline stretch. Our guide to garment quality control lists more points.
Review details and branding
Compare labels, hangtags, trims and packaging with your artwork. Placement matters: a label a centimetre off is noticeable. Confirm that nothing from your tech pack is missing.
How to give feedback
- One consolidated list per round. Number the points.
- Rank by importance. Mark what must change and what would be nice to change.
- Be specific. Write "shorten sleeve by 1.5 cm", not "sleeve too long".
- Use photos. Mark measurements and problem areas.
- Say what you like. It tells the factory what to preserve.
- Keep the reference sample. Both sides should hold the same one.
When to approve
Approve when the remaining differences are within the tolerances you set and none affect fit, safety or appearance in a way your customer would notice. If a point is still open, approve with comments in writing, and state which comments are binding. Remember that approval changes the conversation: later changes should be agreed and recorded, because they can affect cost and timing.
How many rounds to expect
Simple styles can be approved after one or two rounds. Tailored pieces, lined garments and complex knits often need more. Plan the schedule with that in mind, and start with the most demanding style so you learn early.
A simple review template
Create a one-page template you reuse for every sample. Put the style name and sample number at the top, then three columns: the point, the target and the finding. Add a column for photo references. Group the points under fit, fabric, construction, trims and labelling. After each round, update the template with the factory's response and keep the sheets together as a project record. When a reorder comes, the record tells everyone exactly what was approved and why, and it shortens the next development cycle considerably.
Questions to ask the factory about the sample
Ask what fabric and trims were used and whether they match the intended bulk materials. Ask whether any construction was simplified for the sample. Ask which points the team already noticed and plans to improve. These questions turn the review into a conversation and reveal the difference between a deliberate choice and an oversight.
Next step
If you are preparing a brief, start with our process overview and tech pack checklist, then send us your project.
FAQ
How many sample rounds should I expect?
Simple styles may need one or two rounds. Tailored and complex pieces often need more. Plan for at least one correction round on demanding styles.
What should feedback include?
One numbered list per round, ranked by importance, with measurements and photos where possible.
Can I change things after approval?
Changes after approval are possible, but they should be agreed and recorded, since they can affect cost and timing.